
The Outlast Trials has finally released its first major update in its early access journey. Say hello to the Courthouse, a labyrinthine house of law, or rather crime, murder, and naked people. With it comes one new main Trial, called “Vindicate the Trial,” as well as several other additional smaller levels similar to those included in the other trials.
The Courthouse is a harrowing Trial, featuring a new ex-pop antagonist, returning killer Coyle, and some twisted new gameplay mechanics to wrangle with as you progress. Below, I’ll detail 7 tips and tricks and best practices to employ as you sneak through the Courthouse.
1. Head straight to the Courthouse
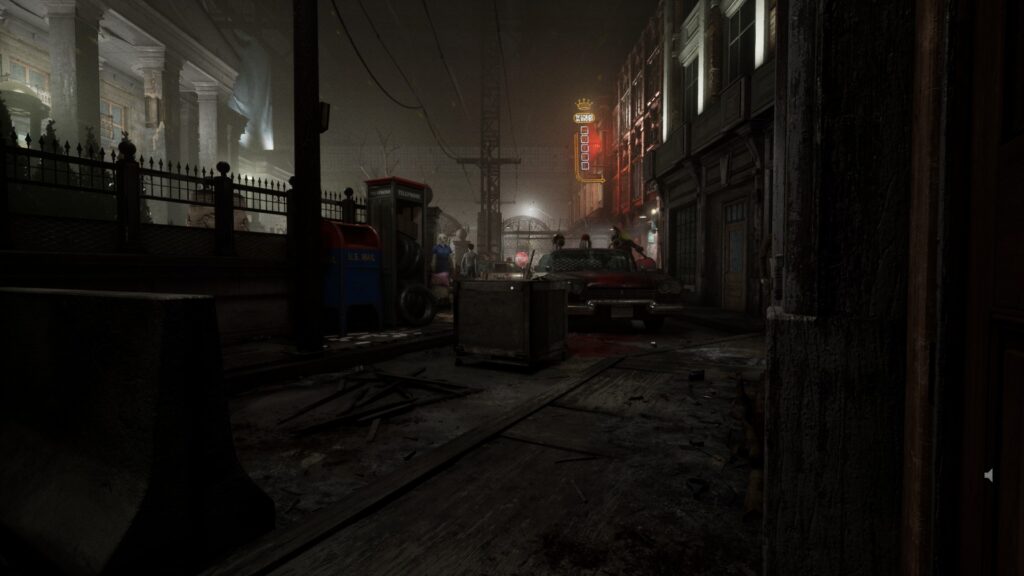
Similar to other trails, your first objective is to pass through the security checkpoint to officially begin. In the “Vindicate The Trial” level, you begin in an alley outside the building. Don’t waste time scavenging around outside. A new, big ex-pop variant patrols the street, and there are more than enough resources to scavenge once you’re in.
Even once you’re inside, you need to pass through the library to hit the checkpoint and officially begin. Head straight in and make some progress, rather than taking unnecessary risks scavenging in an area you don’t need to be in.
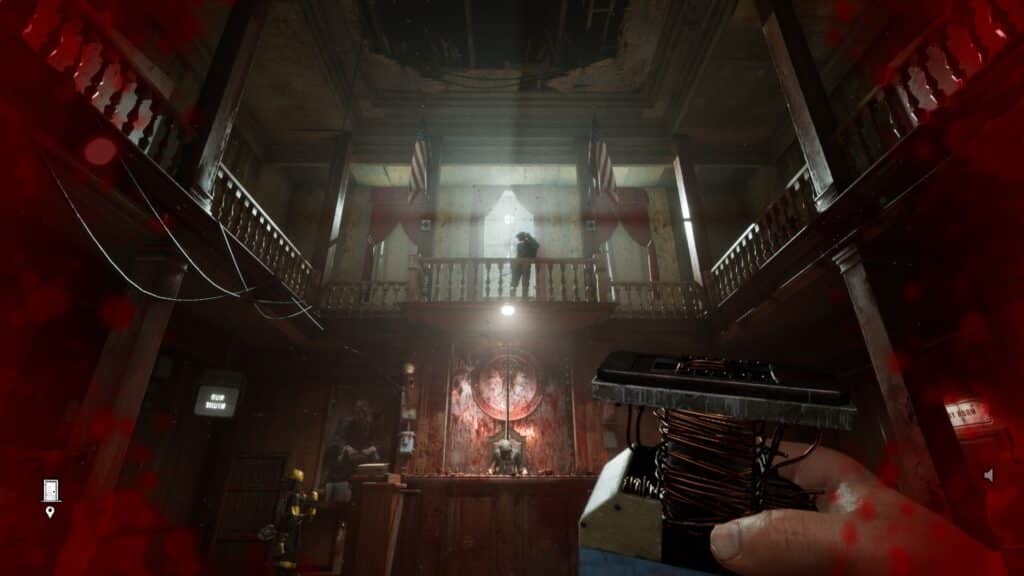
2. The X-ray vision rig is great here
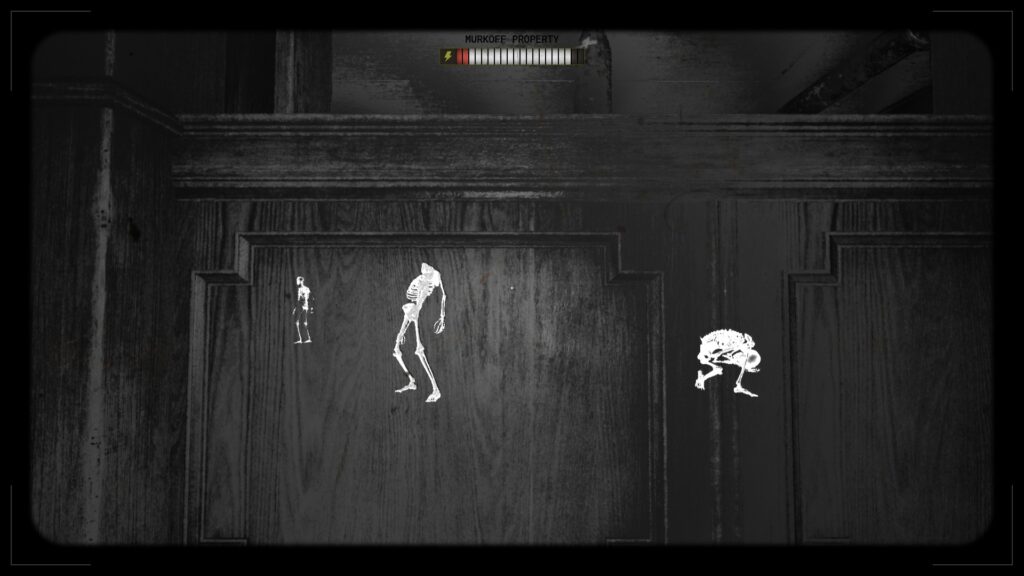
While all levels in The Outlast Trials are cramped and maze-like, The Courthouse takes it to another level. You’ve got multiple floors, switchback staircases, rooms that interlink, dead ends, etc.
It’s a very dense environment with lots of tight corners and broken lines of sight. X-ray vision helps a lot for this reason. Items feel hidden in the environment in a way they don’t in other Trials, so being able to pick them out quickly via the “Shared Intel” upgrade to the X-ray rig helps a ton.
There are also traps galore in The Courthouse, many of which are hard to spot or react to without setting them off. Having X-ray vision to mitigate those is beyond helpful.
Later in the trial, you also need to hunt certain people to progress, and that added ease of locating them is incredibly helpful.
3. Set up traps outside the rig-restricted areas

In a twisted scheme to further demoralize the Trial’s participants, Murkoff saw fit to include areas of The Courthouse where your rig cannot be used. You simply walk through the checkpoint, and your rig is immediately disabled until you leave.
And of course, Coyle and other ex-pops patrol around this area, leaving you defenseless outside of throwables should you face them.
If you’re running the stun rig, you can place a trap just outside the rig-restricted area and use that as a fallback point should you get into trouble. If you get caught, simply run back outside, leading the killer straight into the trap to buy you some extra time to get back in there and make progress while they recover.
4. Failing the code puzzle attracts Coyle

In the second half of the trial, you’re tasked with puzzling out a code for a lockbox that contains your objective. Naturally, this is a severed head.
To find the code, you must look at the walls and shelves within a room lit by a blacklight. But, should you make a mistake and input the wrong code, a horribly loud alarm will sound and attract Coyle straight to your location. It seems that regardless of where he’s at, he’ll stop what he’s doing and run straight for the puzzle room.
The person who incorrectly inputs the code will be stunned and take significant damage, so it’ll be harder for them to make a quick escape, but it gives those around him time to flee the scene before Coyle can close in.
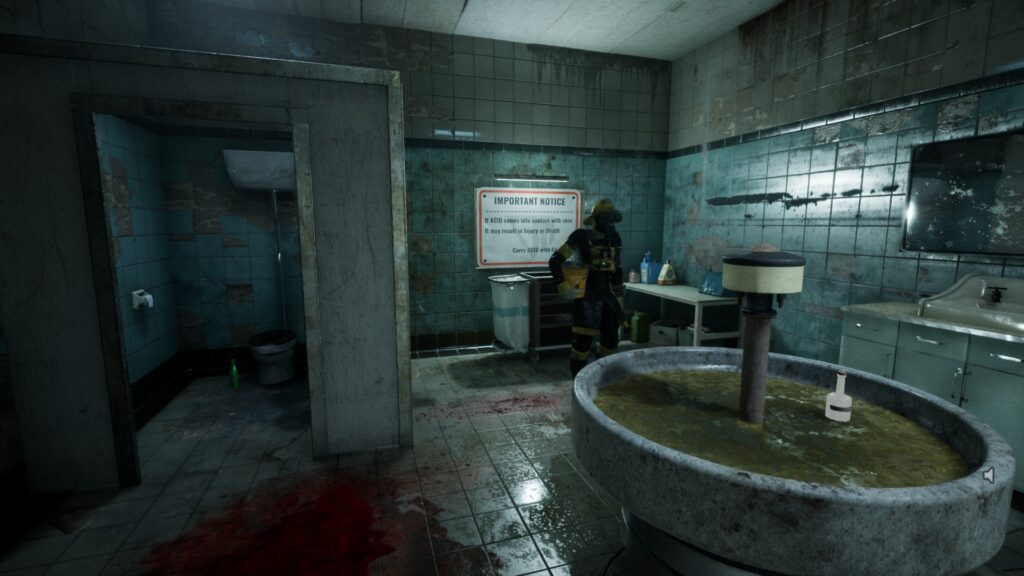
5. Don’t run with acid
You’d think this part is pretty self-explanatory, but the trick is worth mentioning.
Part of the trial sees you tracking down canisters of acid to put in a fountain. These are considered heavy objects, so your mobility is significantly reduced while carrying them.
Your natural instinct here would be to spring to speed things up, but don’t do that here. You’ll actually take incremental damage from splashing the acid around.
Some of these canisters are on the 2nd floor of The Courthouse as well, so combine taking a lot of tick damage as you head to the fountain with an ill-advised shortcut off the balcony railing, and you might very well incapacitate yourself in the process.
6. Don’t spook the witness
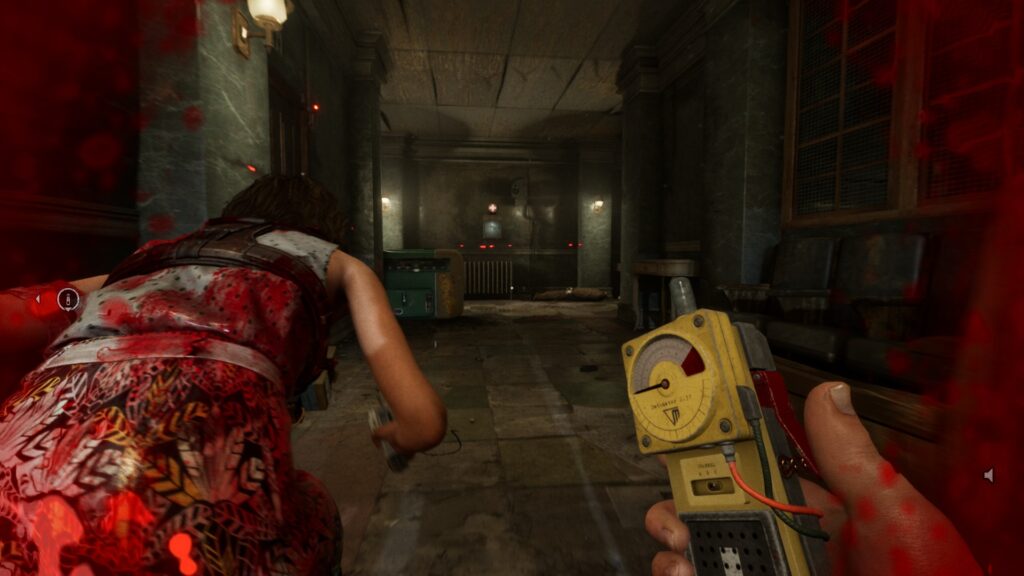
Later on in the trial, you need to track down and execute a witness. They’re identified as guys running around in whitey-tighties and wearing blinking metal helmets.
To cook these guys’ brains, you need to approach them and hold down the trigger of a remote for a few seconds before it pops. Be careful when doing this, however, as should they spot you, not only will they rush you, causing significant damage, but they’ll then sprint for the nearest elevator and leave.
Moving too fast in this area backfires tremendously, as it actually slows down the encounter significantly. Take it slow, sneak around, make sure you aren’t spotted, or you’ll need to start the whole process over. If a witness makes it to an elevator, they won’t come back out where they went in, so you can’t just camp there waiting for them.
This is another instance where the X-ray rig is very useful.
7. Trap the final room
This is often a great tactic in all of the final encounters of a Trial, and it works in The Courthouse too.
When you’re done with all your other objectives and it’s time to execute the judge, place stun mines near the cranks you need to pull.
You have some time to set up before Coyle joins the fray, so when it’s time to get to work, you don’t have to worry about being interrupted. The first step is to unlock the cranks by following some blue wires.
It can actually be worth grabbing Coyle’s attention and leading him into the backrooms as you track the cords so he does not accidentally trigger the mine prematurely.
You need that cover the most when you’re stuck in place pulling the cranks, so try to hang onto it until then. If you have the re-arming upgrade to get a second detonation of the mine, that’s great too.
Good luck!
The new Outlast Trials Courthouse map is really great. Trickier than the last, it’s a little more mechanically involved and forces you to switch up your playstyle in devious and fun ways.